Spooktacular Seasonal Looks
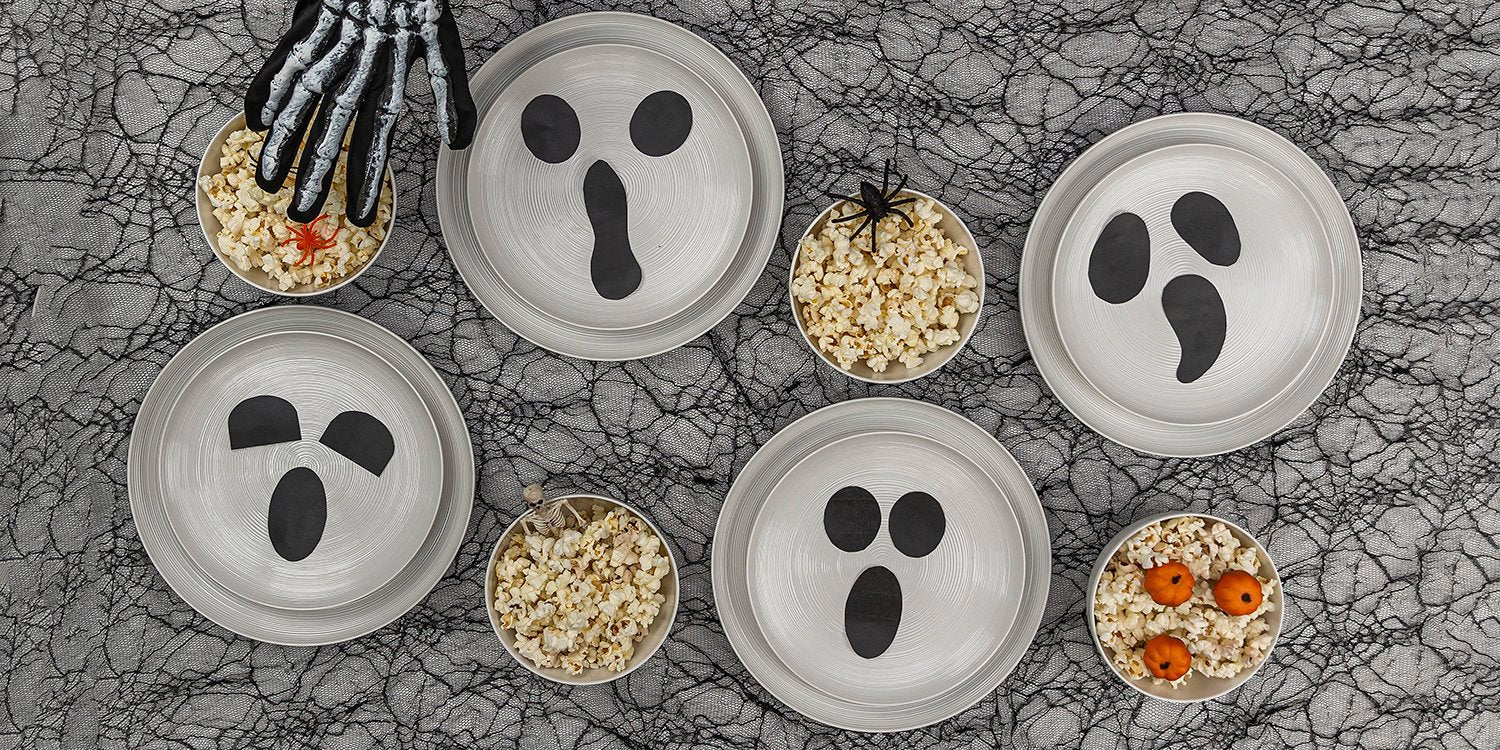
Who doesn’t love getting fancy for a special occasion? Halloween is your annual opportunity to show off your spooky side with fun costumes or spirited accessories, and this year, you can dress up your table, too. These DIY cutout decorations are a quick, simple, and budget-conscious way to bring Halloween to your meal, perfect for parties or just entertaining the kids.

But before we get to the how-tos and the free printables, let’s talk about the canvas you start with: in this case, your dinnerware. We love using white for this; it’s a neutral starting point that looks amazing when combined with other colors, design ideas, and tablescapes—the options are pretty much endless! And, a white dinnerware set looks great on its own for everyday dining, especially when you set the table with American Conventional plates and bowls. They have a subtle texture for that extra bit of visual interest, and bonus, they’re durable and easy to clean as well.

Don’t have white dinnerware on hand? No worries! This project is super adaptable, and other solid colors can show off these designs. Spooky ghost faces look great on white, but try turning them into slime monsters with a bright green plate. An orange background works well with a pumpkin shape, and bat silhouettes would fit perfectly on dusky purple.
Ready to get started? We’ve put together a variety of these designs in one printable PDF—click here to download and follow the instructions below to dress up your Halloween table.
- Print out the patterns on standard 8.5” by 11” letter paper. Our packet includes eight different designs if you want to uniquely personalize every place setting, or you can print multiple copies of your favorite silhouette.
- Tip: Measure your plates before you print—the ghost faces can easily be rearranged, but the larger designs will end up around 7.5-8” wide when printed at 100%. Adjust the scale as necessary to get the size you want!
- Tip: Use a craft knife to cut out enclosed areas like the jack-o’-lantern’s face or the inside of the spiderweb. You can carefully poke holes in the paper and use scissors here as well, but the craft knife makes it much easier.

Feeling inspired? Take it a step further by sketching out your own Halloween designs or cutting them out freehand from black construction paper. With so many possibilities and ways to make it your own, this easy table décor is a fun and simple way to bring a little extra to any occasion.


